Bootstrap Navbar Collapse
Intro
Regardless how tricky and well-thought website structure we develop, it doesn't mean significantly when our people do not offer the site visitor a handy and also simple approach accessing it and getting to the correct page needed swiftly and with the minimum efforts regardless of the screen size of the gadget presenting the web-site. In Bootstrap 4 it's certainly easy to add a responsive Bootstrap Navbar Active wrapping the menu structure easy and fast with minimal code. When it comes to responsive behavior, the navbar may be built to collapse depending on a specific screen size and a display screen horizontal depending on how it looks and user experience. Here is how: Listed below is just how:
Effective ways to work with the Bootstrap Navbar Working:
Here's things that you require to understand just before beginning with the navbar:
- Navbars demand a wrapping
.navbar.navbar-toggleable-*- Navbars and their contents are actually flexible by default. Employ optionally available containers to control their horizontal size.
- Navbars and their items are built with flexbox, presenting convenient placement solutions through utility classes.
- Navbars are simply responsive by default, yet you have the ability to easily modify all of them to modify that. Responsive behavior relies on Collapse JavaScript plugin.
- Insure convenience by operating a
<nav><div>role="navigation"First we require a
<nav>. navbar.navbar-fixed-top.navbar-fixed-bottom.navbar-dark, .navbar-light.bg-info, .bg-successstyle =" background-color: ~ your color ~"bg-*<nav>In case you need the navbar to be hidden at a special device width right here additionally is the area to include a button part with the classes
.navbar-toggler.hidden- ~ the last size you would want the navbar displayed inline ~ -uptype="button" data-toggle="collapse"data-target="# ~ the ID of the component holding the actual navbar content ~"Statin things by doing this the next step in developing the navbar is creating a
<div>.collapse.navbar-toggleable- ~ the largest screen size in which you need it be hidden ~.navbar-toggleable-smIn this element, you have the ability to additionally add a wrapper using the
.navbar-brand<ul>.nav.navbar-nav<li>.nav-item.nav-linkOther thing to keep in mind
A thing to keep in mind is that in the latest Bootstrap 4 framework the ways of selecting the positioning of the navbar elements has been changed a bit for different presentations to be potentially specified to various display sizes. This gets accomplished by the
.pull- ~ screen size ~ -left.pull- ~ screen size ~ -right.nav.pull- ~ screen size ~ -none.navbar-right.navbar-leftRead on for an example and list of upheld sub-components.
As an examples
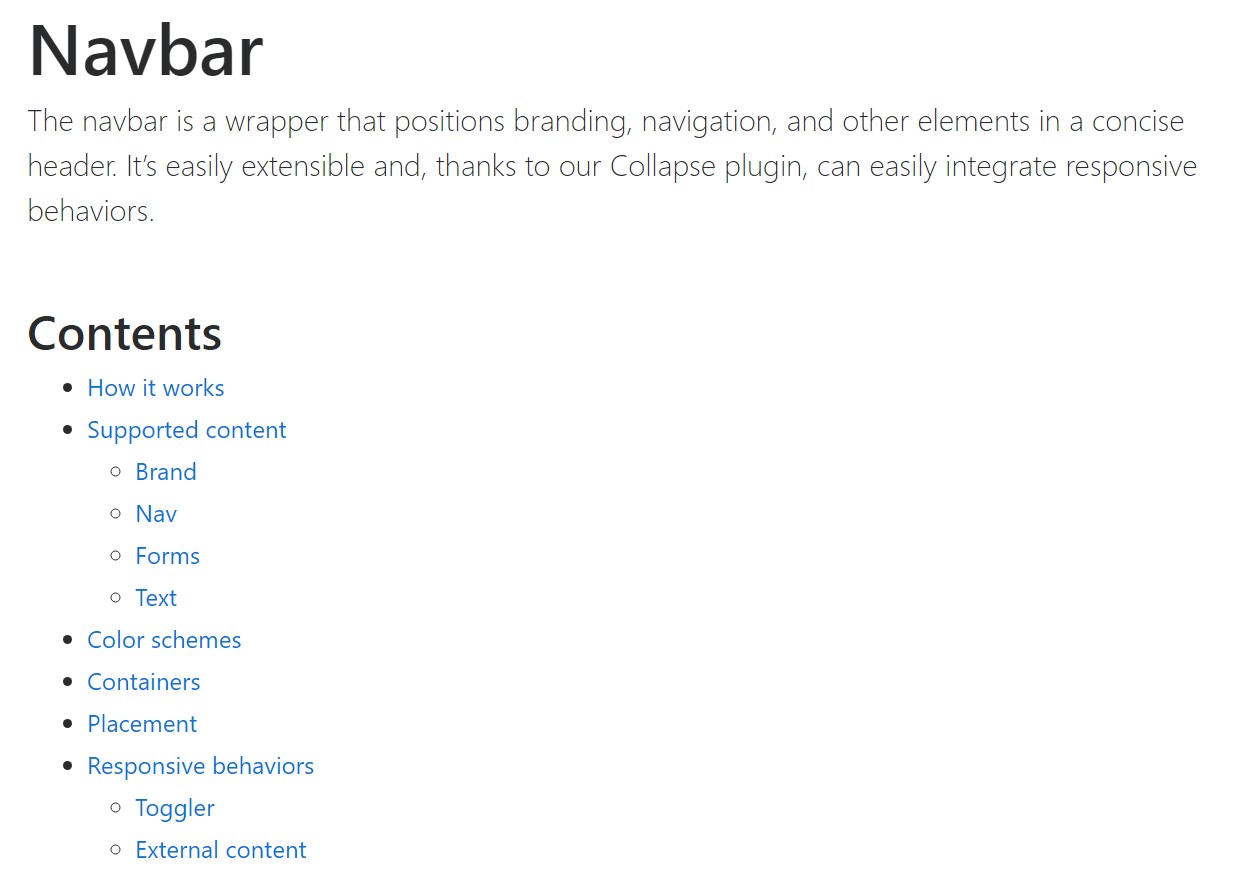
Upheld content
Navbars incorporated built-in service for a handful of sub-components. Choose the following like needed to have:
.navbar-brand.navbar-nav.navbar-toggler.form-inline.navbar-text.collapse.navbar-collapseHere is certainly an example of all the sub-components utilized inside a responsive light-themed navbar which automatically collapses at the
md
<nav class="navbar navbar-toggleable-md navbar-light bg-faded">
  <button class="navbar-toggler navbar-toggler-right" type="button" data-toggle="collapse" data-target="#navbarSupportedContent" aria-controls="navbarSupportedContent" aria-expanded="false" aria-label="Toggle navigation">
    <span class="navbar-toggler-icon"></span>
  </button>
  <a class="navbar-brand" href="#">Navbar</a>

  <div class="collapse navbar-collapse" id="navbarSupportedContent">
    <ul class="navbar-nav mr-auto">
      <li class="nav-item active">
        <a class="nav-link" href="#">Home <span class="sr-only">(current)</span></a>
      </li>
      <li class="nav-item">
        <a class="nav-link" href="#">Link</a>
      </li>
      <li class="nav-item">
        <a class="nav-link disabled" href="#">Disabled</a>
      </li>
    </ul>
    <form class="form-inline my-2 my-lg-0">
      <input class="form-control mr-sm-2" type="text" placeholder="Search">
      <button class="btn btn-outline-success my-2 my-sm-0" type="submit">Search</button>
    </form>
  </div>
</nav>
Brand name
The
.navbar-brand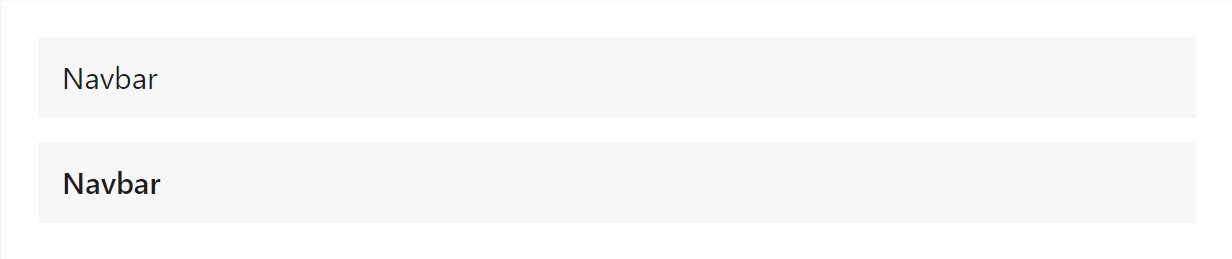
<!-- As a link -->
<nav class="navbar navbar-light bg-faded">
  <a class="navbar-brand" href="#">Navbar</a>
</nav>

<!-- As a heading -->
<nav class="navbar navbar-light bg-faded">
  <h1 class="navbar-brand mb-0">Navbar</h1>
</nav>
Adding in pics to the
.navbar-brand
<!-- Just an image -->
<nav class="navbar navbar-light bg-faded">
  <a class="navbar-brand" href="#">
    <div class="img"><img src="/assets/brand/bootstrap-solid.svg" width="30" height="30" alt=""></div>
  </a>
</nav>
<!-- Image and text -->
<nav class="navbar navbar-light bg-faded">
  <a class="navbar-brand" href="#">
    <div class="img"><img src="/assets/brand/bootstrap-solid.svg" width="30" height="30" class="d-inline-block align-top" alt=""></div>
    Bootstrap
  </a>
</nav>
Nav
Navbar navigation hyperlinks based on
.navActive states-- with
.active.nav-link.nav-item
<nav class="navbar navbar-toggleable-md navbar-light bg-faded">
  <button class="navbar-toggler navbar-toggler-right" type="button" data-toggle="collapse" data-target="#navbarNav" aria-controls="navbarNav" aria-expanded="false" aria-label="Toggle navigation">
    <span class="navbar-toggler-icon"></span>
  </button>
  <a class="navbar-brand" href="#">Navbar</a>
  <div class="collapse navbar-collapse" id="navbarNav">
    <ul class="navbar-nav">
      <li class="nav-item active">
        <a class="nav-link" href="#">Home <span class="sr-only">(current)</span></a>
      </li>
      <li class="nav-item">
        <a class="nav-link" href="#">Features</a>
      </li>
      <li class="nav-item">
        <a class="nav-link" href="#">Pricing</a>
      </li>
      <li class="nav-item">
        <a class="nav-link disabled" href="#">Disabled</a>
      </li>
    </ul>
  </div>
</nav>
And because we employ classes for our navs, you can avoid the list-based strategy totally if you like.

<nav class="navbar navbar-toggleable-md navbar-light bg-faded">
  <button class="navbar-toggler navbar-toggler-right" type="button" data-toggle="collapse" data-target="#navbarNavAltMarkup" aria-controls="navbarNavAltMarkup" aria-expanded="false" aria-label="Toggle navigation">
    <span class="navbar-toggler-icon"></span>
  </button>
  <a class="navbar-brand" href="#">Navbar</a>
  <div class="collapse navbar-collapse" id="navbarNavAltMarkup">
    <div class="navbar-nav">
      <a class="nav-item nav-link active" href="#">Home <span class="sr-only">(current)</span></a>
      <a class="nav-item nav-link" href="#">Features</a>
      <a class="nav-item nav-link" href="#">Pricing</a>
      <a class="nav-item nav-link disabled" href="#">Disabled</a>
    </div>
  </div>
</nav>
You may also employ dropdowns in your navbar nav. Dropdown menus demand a covering element for setting, in this way make certain to employ nested and separate elements for
.nav-item.nav-link
<nav class="navbar navbar-toggleable-md navbar-light bg-faded">
  <button class="navbar-toggler navbar-toggler-right" type="button" data-toggle="collapse" data-target="#navbarNavDropdown" aria-controls="navbarNavDropdown" aria-expanded="false" aria-label="Toggle navigation">
    <span class="navbar-toggler-icon"></span>
  </button>
  <a class="navbar-brand" href="#">Navbar</a>
  <div class="collapse navbar-collapse" id="navbarNavDropdown">
    <ul class="navbar-nav">
      <li class="nav-item active">
        <a class="nav-link" href="#">Home <span class="sr-only">(current)</span></a>
      </li>
      <li class="nav-item">
        <a class="nav-link" href="#">Features</a>
      </li>
      <li class="nav-item">
        <a class="nav-link" href="#">Pricing</a>
      </li>
      <li class="nav-item dropdown">
        <a class="nav-link dropdown-toggle" href="http://example.com" id="navbarDropdownMenuLink" data-toggle="dropdown" aria-haspopup="true" aria-expanded="false">
          Dropdown link
        </a>
        <div class="dropdown-menu" aria-labelledby="navbarDropdownMenuLink">
          <a class="dropdown-item" href="#">Action</a>
          <a class="dropdown-item" href="#">Another action</a>
          <a class="dropdown-item" href="#">Something else here</a>
        </div>
      </li>
    </ul>
  </div>
</nav>
Forms
Place a variety of form controls and elements inside a navbar with
.form-inline
<nav class="navbar navbar-light bg-faded">
  <form class="form-inline">
    <input class="form-control mr-sm-2" type="text" placeholder="Search">
    <button class="btn btn-outline-success my-2 my-sm-0" type="submit">Search</button>
  </form>
</nav>
Align the contents of your inline forms with utilities as required.

<nav class="navbar navbar-light bg-faded justify-content-between">
  <a class="navbar-brand">Navbar</a>
  <form class="form-inline">
    <input class="form-control mr-sm-2" type="text" placeholder="Search">
    <button class="btn btn-outline-success my-2 my-sm-0" type="submit">Search</button>
  </form>
</nav>
Input groups operate, as well:

<nav class="navbar navbar-light bg-faded">
  <form class="form-inline">
    <div class="input-group">
      <span class="input-group-addon" id="basic-addon1">@</span>
      <input type="text" class="form-control" placeholder="Username" aria-describedby="basic-addon1">
    </div>
  </form>
</nav>
Numerous buttons are maintained like part of these navbar forms, as well. This is also a fantastic tip that vertical placement utilities may be applied to adjust various sized features.

<nav class="navbar navbar-light bg-faded">
  <form class="form-inline">
    <button class="btn btn-outline-success" type="button">Main button</button>
    <button class="btn btn-sm align-middle btn-outline-secondary" type="button">Smaller button</button>
  </form>
</nav>
Text
Navbars probably incorporate pieces of text message using
.navbar-text
<nav class="navbar navbar-light bg-faded">
  <span class="navbar-text">
    Navbar text with an inline element
  </span>
</nav>
Combine and suit with various other elements and utilities like needed.

<nav class="navbar navbar-toggleable-md navbar-light bg-faded">
  <button class="navbar-toggler navbar-toggler-right" type="button" data-toggle="collapse" data-target="#navbarText" aria-controls="navbarText" aria-expanded="false" aria-label="Toggle navigation">
    <span class="navbar-toggler-icon"></span>
  </button>
  <a class="navbar-brand" href="#">Navbar w/ text</a>
  <div class="collapse navbar-collapse" id="navbarText">
    <ul class="navbar-nav mr-auto">
      <li class="nav-item active">
        <a class="nav-link" href="#">Home <span class="sr-only">(current)</span></a>
      </li>
      <li class="nav-item">
        <a class="nav-link" href="#">Features</a>
      </li>
      <li class="nav-item">
        <a class="nav-link" href="#">Pricing</a>
      </li>
    </ul>
    <span class="navbar-text">
      Navbar text with an inline element
    </span>
  </div>
</nav>
Color arrangement
Style the navbar has never ever been actually simpler thanks to the mixture of theming classes and
background-color.navbar-light.navbar-inverse.bg-*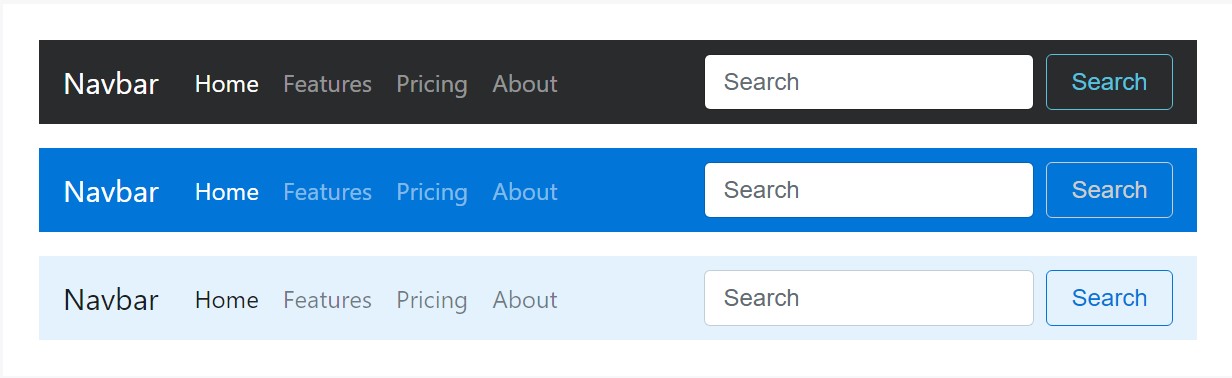
<nav class="navbar navbar-inverse bg-inverse">
  <!-- Navbar content -->
</nav>

<nav class="navbar navbar-inverse bg-primary">
  <!-- Navbar content -->
</nav>

<nav class="navbar navbar-light" style="background-color: #e3f2fd;">
  <!-- Navbar content -->
</nav>
Containers
Despite the fact it is generally not required, you have the ability to cover a navbar in a
.container
<div class="container">
  <nav class="navbar navbar-toggleable-md navbar-light bg-faded">
    <a class="navbar-brand" href="#">Navbar</a>
  </nav>
</div>
As soon as the container is within your navbar, its own horizontal padding is extracted at breakpoints below your defined
.navbar-toggleable-*
<nav class="navbar navbar-toggleable-md navbar-light bg-faded">
  <div class="container">
    <a class="navbar-brand" href="#">Navbar</a>
  </div>
</nav>
Arrangement
Operate position utilities to install navbars in non-static places. Pick from set to the top, embeded to the bottom, or stickied to the top . Notice that
position: sticky.sticky-top
<nav class="navbar navbar-light bg-faded">
  <a class="navbar-brand" href="#">Full width</a>
</nav>
<nav class="navbar fixed-top navbar-light bg-faded">
  <a class="navbar-brand" href="#">Fixed top</a>
</nav>
<nav class="navbar fixed-bottom navbar-light bg-faded">
  <a class="navbar-brand" href="#">Fixed bottom</a>
</nav>
<nav class="navbar sticky-top navbar-light bg-faded">
  <a class="navbar-brand" href="#">Sticky top</a>
</nav>
Responsive behaviors
Navbars can surely use
.navbar-toggler.navbar-collapse.navbar-toggleable-*Toggler
Navbar togglers may possibly be left or right aligned using
.navbar-toggler-left.navbar-toggler-rightWithout any
.navbar-brand
<nav class="navbar navbar-toggleable-md navbar-light bg-faded">
  <button class="navbar-toggler" type="button" data-toggle="collapse" data-target="#navbarTogglerDemo01" aria-controls="navbarTogglerDemo01" aria-expanded="false" aria-label="Toggle navigation">
    <span class="navbar-toggler-icon"></span>
  </button>
  <div class="collapse navbar-collapse" id="navbarTogglerDemo01">
    <a class="navbar-brand" href="#">Hidden brand</a>
    <ul class="navbar-nav mr-auto mt-2 mt-lg-0">
      <li class="nav-item active">
        <a class="nav-link" href="#">Home <span class="sr-only">(current)</span></a>
      </li>
      <li class="nav-item">
        <a class="nav-link" href="#">Link</a>
      </li>
      <li class="nav-item">
        <a class="nav-link disabled" href="#">Disabled</a>
      </li>
    </ul>
    <form class="form-inline my-2 my-lg-0">
      <input class="form-control mr-sm-2" type="text" placeholder="Search">
      <button class="btn btn-outline-success my-2 my-sm-0" type="submit">Search</button>
    </form>
  </div>
</nav>
Having a brand revealed on the left and toggler on the right:

<nav class="navbar navbar-toggleable-md navbar-light bg-faded">
  <button class="navbar-toggler navbar-toggler-right" type="button" data-toggle="collapse" data-target="#navbarTogglerDemo02" aria-controls="navbarTogglerDemo02" aria-expanded="false" aria-label="Toggle navigation">
    <span class="navbar-toggler-icon"></span>
  </button>
  <a class="navbar-brand" href="#">Navbar</a>

  <div class="collapse navbar-collapse" id="navbarTogglerDemo02">
    <ul class="navbar-nav mr-auto mt-2 mt-md-0">
      <li class="nav-item active">
        <a class="nav-link" href="#">Home <span class="sr-only">(current)</span></a>
      </li>
      <li class="nav-item">
        <a class="nav-link" href="#">Link</a>
      </li>
      <li class="nav-item">
        <a class="nav-link disabled" href="#">Disabled</a>
      </li>
    </ul>
    <form class="form-inline my-2 my-lg-0">
      <input class="form-control mr-sm-2" type="text" placeholder="Search">
      <button class="btn btn-outline-success my-2 my-sm-0" type="submit">Search</button>
    </form>
  </div>
</nav>
External content
In certain cases you want to apply the collapse plugin in order to trigger hidden subject elsewhere on the page. Simply because plugin deals with the
iddata-target
<div class="pos-f-t">
  <div class="collapse" id="navbarToggleExternalContent">
    <div class="bg-inverse p-4">
      <h4 class="text-white">Collapsed content</h4>
      <span class="text-muted">Toggleable via the navbar brand.</span>
    </div>
  </div>
  <nav class="navbar navbar-inverse bg-inverse">
    <button class="navbar-toggler" type="button" data-toggle="collapse" data-target="#navbarToggleExternalContent" aria-controls="navbarToggleExternalContent" aria-expanded="false" aria-label="Toggle navigation">
      <span class="navbar-toggler-icon"></span>
    </button>
  </nav>
</div>
Conclusions
Thus essentially these are the way a navbar need to be constructed in Bootstrap 4 and the new good modifications arriving with the newest version. What's left for you is considering cool page system and web content.
Review several youtube video information about Bootstrap Navbar:
Related topics:
Bootstrap Navbar approved records
Adjust navbar item to the right in Bootstrap 4 alpha 6
Bootstrap Responsive menu in Mobirise